Since creating character accessories is something I wanted to learn, I asked some friends on Roblox what they’d like me to make for them.
I wasn’t concerned about creating UGC accessories that I can sell, just yet, and learned I could use the Accessory Proximity Prompt Models 3.0 by Kairoh3D to let me run some initial tests. The only drawback is the accessories I create can’t be worn outside of the experience I make them for. However, they could be a fun thing to offer visitors.
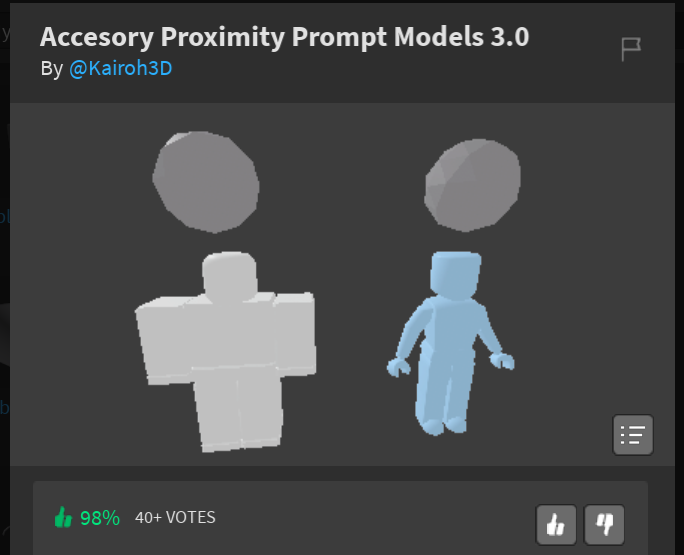
First, find “Accessory Proximity Prompt Models” in the Toolbox and drop that into your scene, like you would any other model. Then, go find it in the Explorer and open the README file, and follow the instructions.
It has a script that lets your users try on your accessory once they get close!
More on that in a bit…
You will also need a plug-in called Asset Creator to convert your model into an accessory.
Once you have that, go to the plug-ins tab and select it in the toolbar. You’ll see a wizard pop up that walks you through the process.

At a high-level, you set up a rig and position your accessory how you’d like it on the character. Once you’ve completed the wizard your new accessory will show up about 10 units above your original model. You’ll see it in the Explorer with a little wizard hat icon and “accessory” in the name. You’ll move that under the Kairoh Accessory Model you want it applied to.
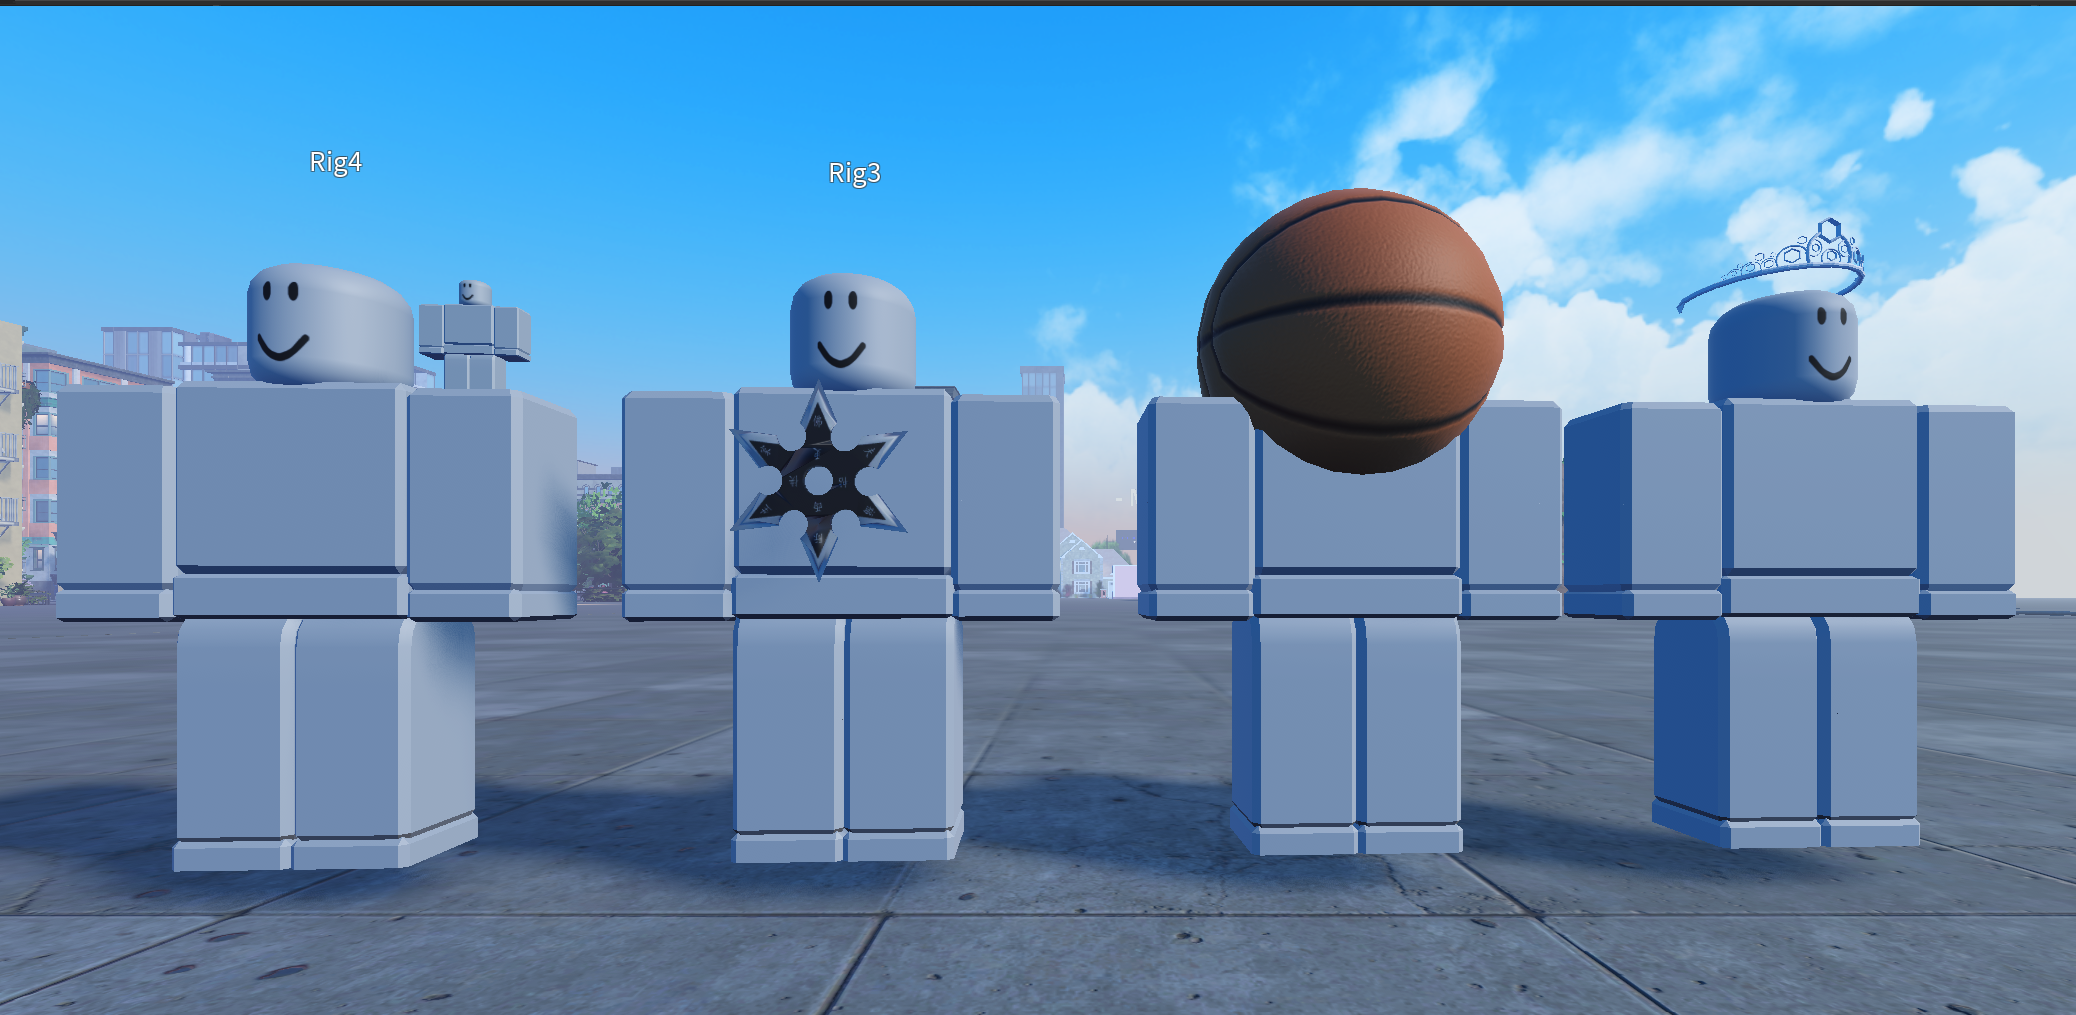
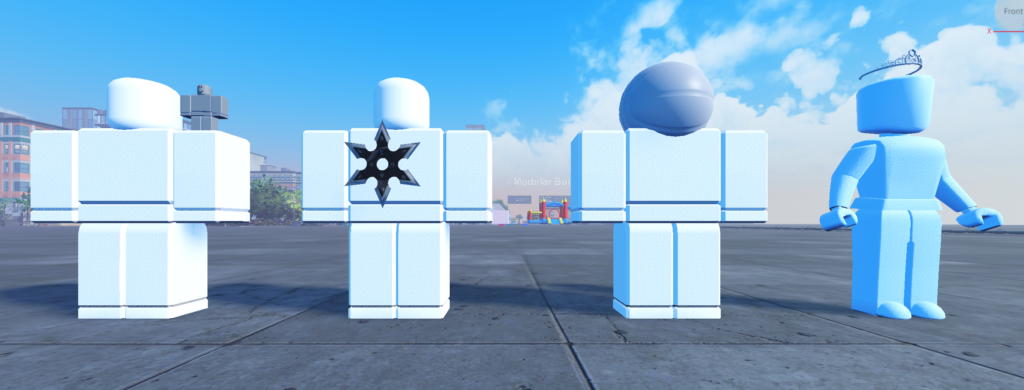
Here are the four rigs I set up for each of my accessories with how I intended for them to look.

Below are details about each one:
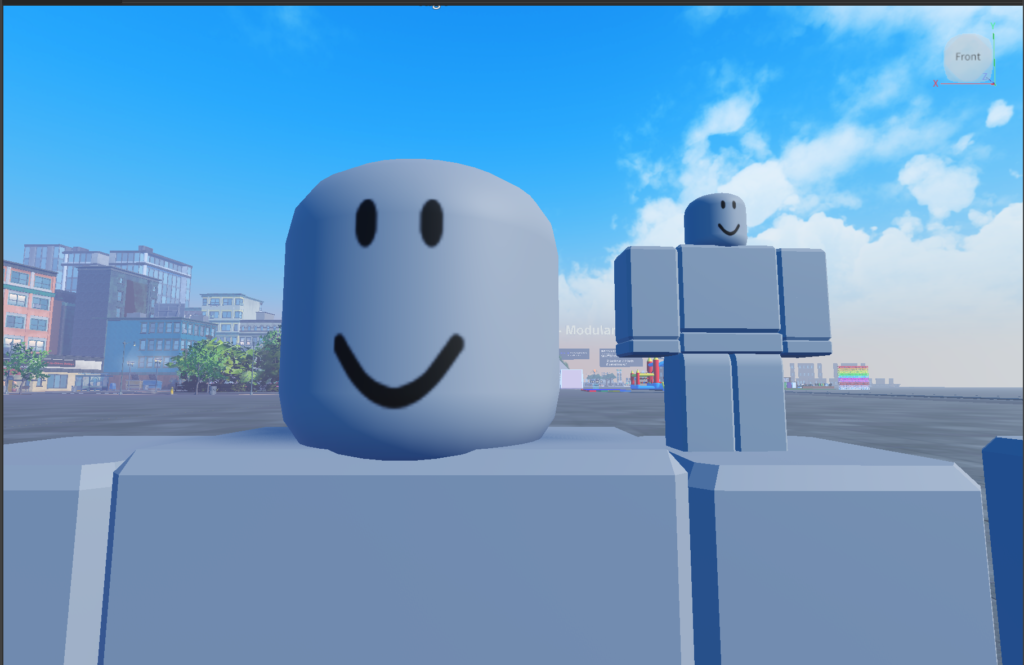
Shoulder Buddy
This was nothing more than the standard Roblox Block Rig that I imported into Blender to get it properly sized and set up so the origin point is at the feet.
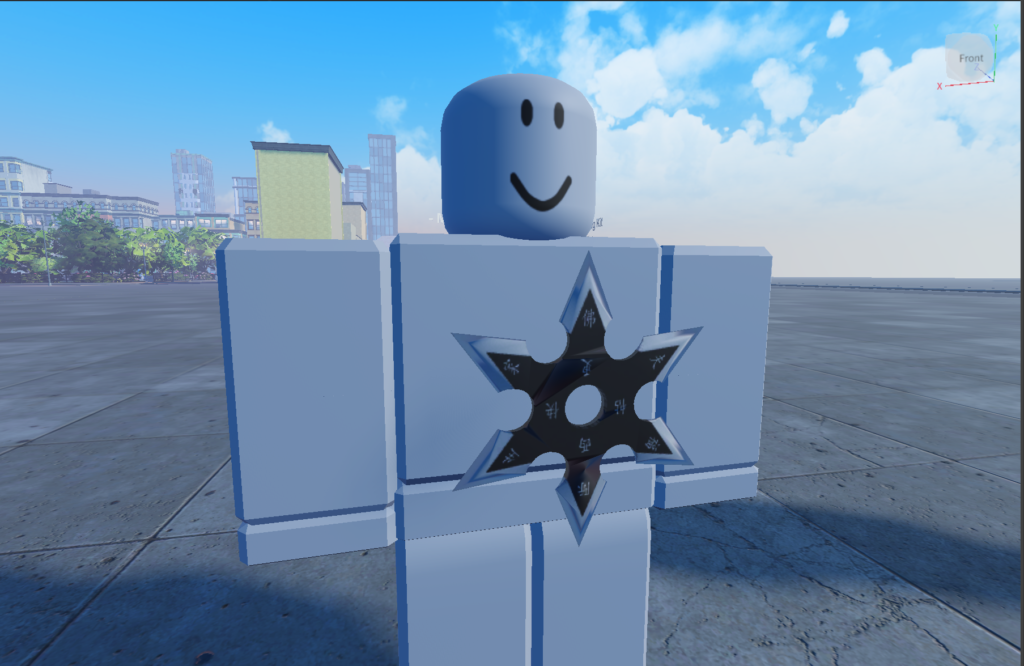
Ninja Star
I just used a basic star model (with no scripts) that I found in the Toolbox to see how it worked.
I also thought I’d do something different with this by making it a chest accessory, since my friend who asked for this already carries swords.
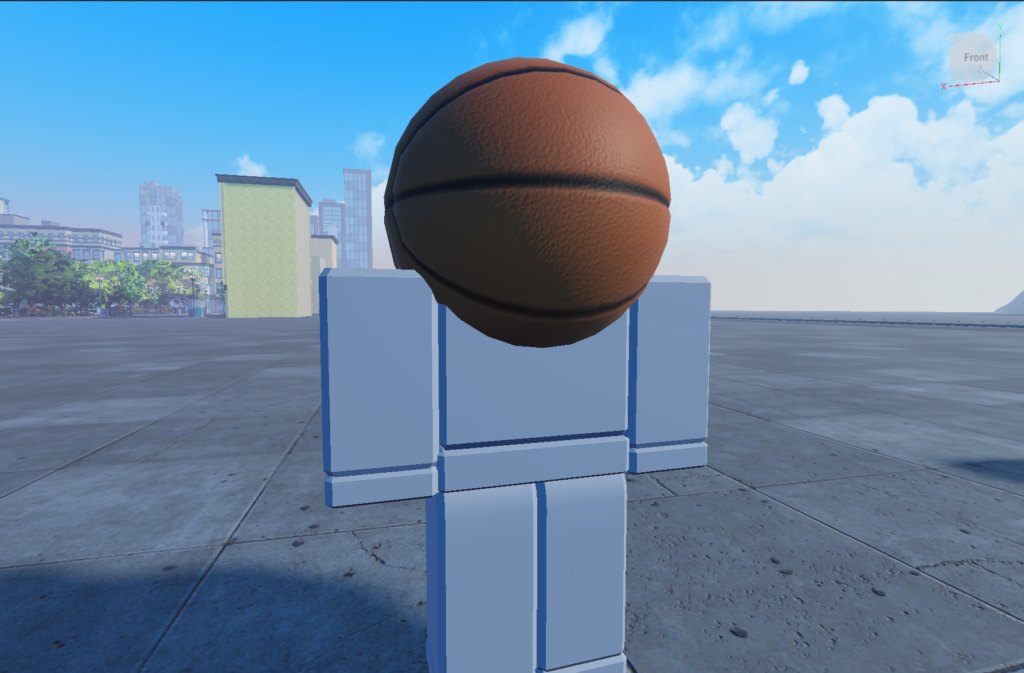
Basketball Head
This friend already has a big box head, so I made this (hopefully) big enough to go around that.
He wanted a smile on it, but I’m still working on textures, so I left it “as is”. Again, I made sure I grabbed one that didn’t have scripts. Many basketballs I found in the Toolbox are interactive.
Princess Tiara
You can see the color didn’t come in from my original Blender model, which I expected.
Funny thing is the diamonds are so clear you can see right through them!
If you zoom in, you can see that it’s not very smooth. Read more about how I made it here.

Once you drop each mesh into the proper Kairoh Accessory Model, you’ll find the ProximityPrompt file has the properties to display the ActionText and ObjectText that you’re users will see when they approach it.
You can see here that only the ninja star retained it’s textures, the basketball shrunk and lost it’s texture too. I also notice that the tiara kept dropping to it’s original model size, rather than accepting the resize I applied to accommodate big hair.
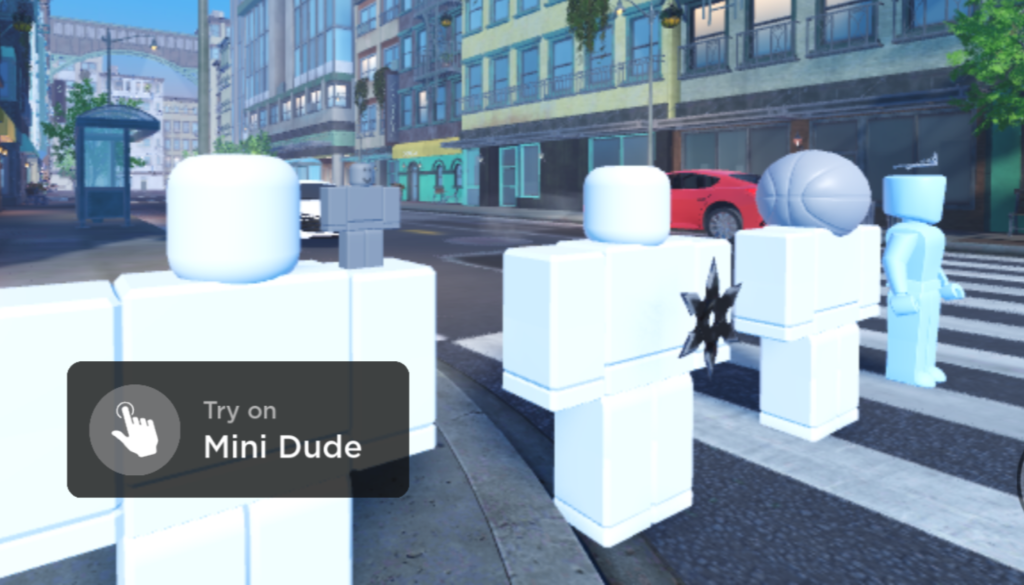
Here’s what it looks like when you walk up to these. You can see you get a prompt to try on each one.
Dont forget to adjust the text and model details for each in the ProximityPromt script and Properties panel.
Here’s my character with all of my new accessories on at once! 🤣
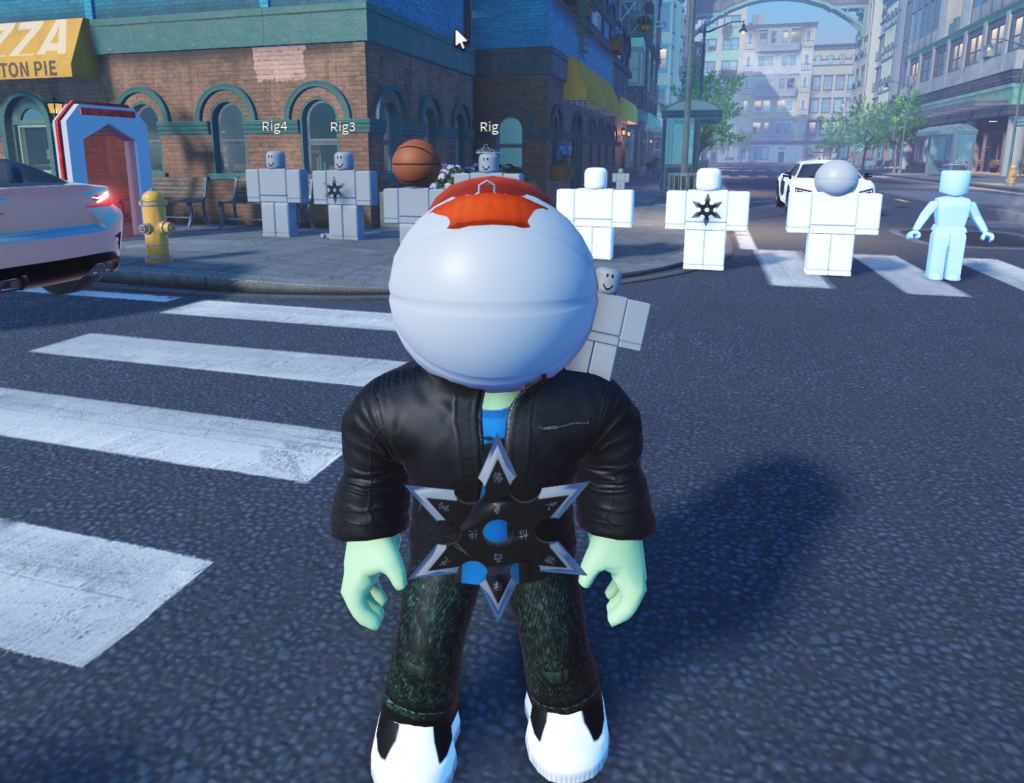
I learned a lot by running through the process of setting up each model as an accessory!
Initial size and textures are clearly critical, while positioning can be tricky due to existing accessories Avatars already have.
Eventually, I’ll be exploring how to make UGC (user generated content) Accessories to sell in the Market.
Till then, here’s the video from RoBuilder that was super helpful for working through this project: