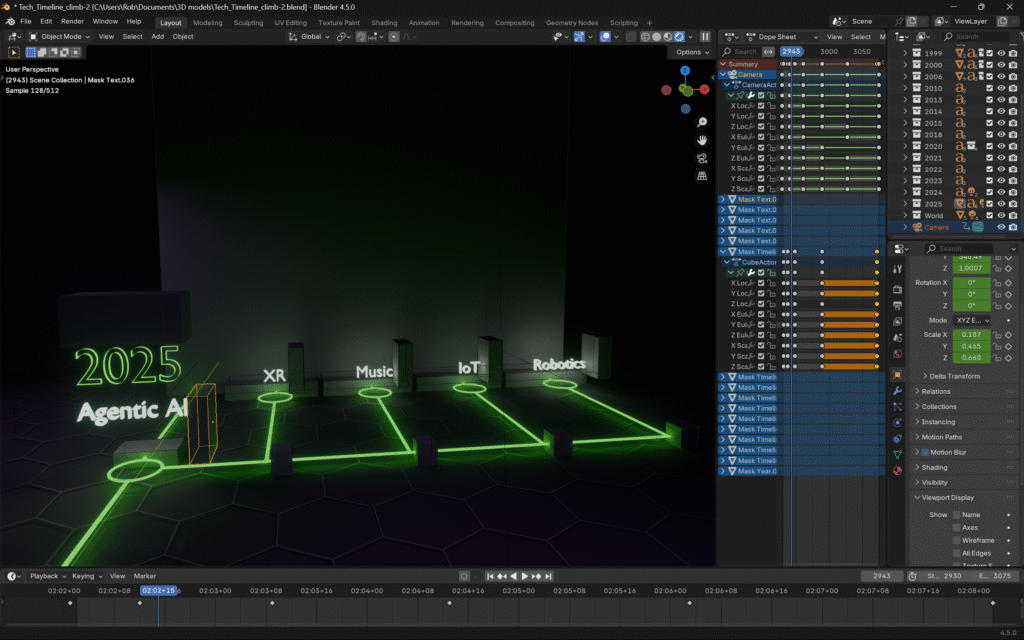
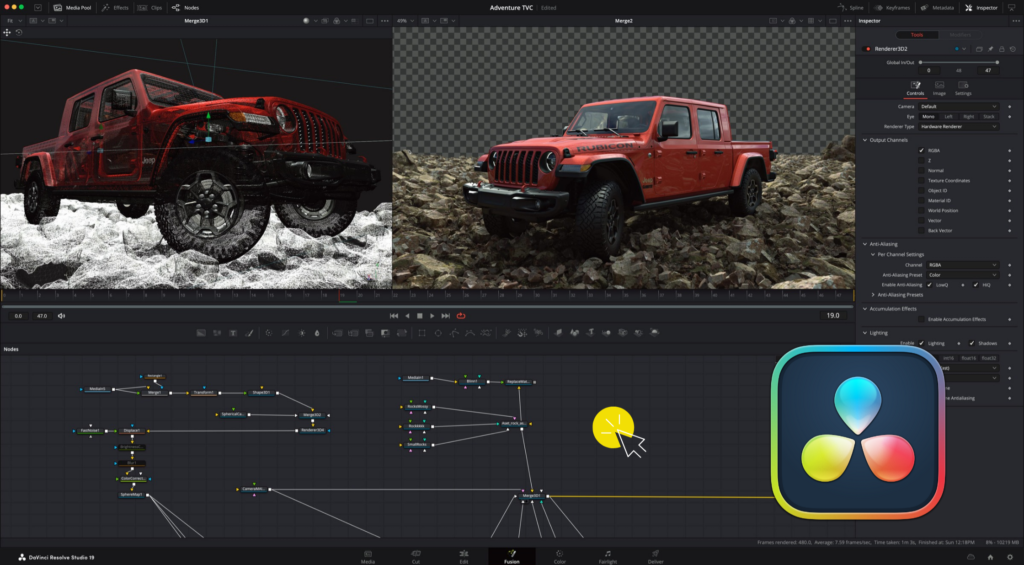
Once I learned about Fusion in Davinci Resolve, I couldn’t wait to dive in to see what I could do with it. It combines everything I love about visual arts into a single tool with complex motion graphics, support for 3D, particle effects, and more!
That doesn’t mean it isn’t infuriating as hell sometimes!
Intense patience is required when climbing a stepper learning curve than I expected. Especially considering many years of previous experience with motion graphics.
One might think it’s the node-based interface that’s challengingto work with, but I’m feeling comfortable with those. Nodes are basically functions in programming. I’ve also seen them described as ingredients in a recipe, which is a fun way to think of them. The main thing that bugs me about nodes is that they’re messy! I often find myself wasting time arranging them 😆
Here’s an example of the nodes used to make my HUD video player in my most recent video:

I’ve learned enough over the past few weeks that I felt it was worth documenting and sharing.
I’ll be using examples from Episode #2 of my UFO/UAP Technical Evaluation series, since that is the project I’ve been using to improve my skills in Davinci Resolve. Specifically using Fusion as much as possible to make my videos more engaging and to learn fun new motion graphics and special effects tricks.
I put a lot of extra time into learning and practicing new tricks in Fusion when making this video!
One thing that became obvious is that it’s officially time to bump my RAM to 32GB, because more advanced techniques tend to struggle to preview smoothly with only 16GB. They’d render fine, but I’d like a smooth preview. Especially when I’m doing the voice over!
DISCLAIMER: I’m still learning! Plus, I don’t learn by gaining an understanding the basics, I learn through projects that spark ideas then I learn what I need to get the job done. So, I may miss fundamental skills, but I do learn them eventually!
There Are Multiple Ways to do Things!
This is probably the most important lesson I’ve learned! I can’t tell you how many times I found several YouTube tutorials that take the same approach to a task that wasn’t quite what I wanted. Then randomly, I’d finally find the specific approach I was looking for.
The example I remember most is when I wanted to simply have a circle draw on screen. Most tutorials want you to use a mask over an image of a circle, but I knew a vector line could be drawn. Eventually, I figured out that you can use the Length property with key frames. Now I know how to “draw” anything over time, which will be super useful on future projects!
If what you’re trying to do isn’t working, try taking a different approach!
Another example is when I wanted to create a target tracker with a simple rectangle with lines only in the corners. I assumed I could use a Paint node with multiple 90 degree poly lines, but NOOOO! Making that was way more frustrating than it should’ve been. 😠 More on that later!
While I still plan to leverage the Paint tool for other things, I fell back to using a mask to create my target tracker by rotating a square to a diamond and bumped up it’s border until my corners looked even. That may have been the best way to handle something that tracks anyway.
I eventually figured out a technique that was super slick, which I’ll demonstrate in my Fusion video at the end of this article!
Creating Fusion Compositions
The method you use to create a new Fusion Composition makes a difference in how MediaIn node works!
You can create a Fusion Composition by dragging that Effect into the timeline. Doing that leaves you with only a single MediaOut node.

You can also create one by dragging your media to the timeline, then right clicking it and creating a new Fusion Composition.

Which approach you choose matters – BIG TIME!
If you want any control over your footage in Fusion, including the length, I highly recommend applying everything you need to the video in the timeline. Then you can make it a composition. That’s also useful in making sure you media is sized to your project.
If you create a blank composition and bring media into that, you get the raw media. At that point, controls seem very limited, so you better make sure you’re media is prepped for this use case.
I’ve seen tutorials do both, but I’ve never heard anyone explain why they pick one over the other.
My approach now is that if I want a simple graphic overlay, then I’ll use an empty composition. If I plan to use media, then I’ll convert that once I know the details are in place…unless I want it to loop!
This is where it can get a bit frustrating, because if I change my mind, I can struggle to get where I want to be.
I made my background animation after fighting with all that for quite some time.
I eventually figured out that I could reverse and loop the short video I used, and even managed to get it to where I can adjust the length directly in the timeline. I demo this in my new Fusion video, too!
Paint Node 🎨
As I mentioned earlier, the Paint node was mind numbing. I know how to draw with vector pen tools, but this tool was way trickier than I expected. I’m guessing it follows it’s own rules rather than how how Adobe Illustrator works.
I’ve tried finding tutorials on how it works, but people only tend to cover its tools at a high-level.
One thing I learned was that you can publish a vector point for use in tracking. For example, you can have a point at the end of a callout following anything you want!
I’ll have to keep digging, but didn’t find anything useful enough to use in my video other than that point tracker.
I may have to force myself to keep practicing the Paint features, since they seem to have serious potential!
Expressions Are Amazing!
I barely know how to use them, but expressions have already proven to be super useful!
From something as simple as connecting the Height property to the Width property so you can scale them evenly…

…to creating a complex expression like this one to create a counter animation using the Text+ node:
: -- setup
from = 4831391; -- starting value
to = 5500000; -- ending value
delim = "," -- the text inserted as a thousands separator.
prefix = "" -- text before the number
postfix = "" -- text after the number
-- setup end
number = from + (to-from)*(time/comp.RenderEnd)
delimited = (string.format('%d', number)):reverse():gsub("(%d%d%d)","%1" .. delim):gsub(",(%-?)$","%1"):reverse()
return(prefix .. delimited .. postfix)
I learned that Fusion uses Lua, which I’ve heard of for game development (Roblox specifically), web development, and developer tools.
I can see how getting better at expressions could be super handy!
Cloning Key Frames is Extremely Helpful
The nature of motion graphics animation means you’ll often need to set the same start and endpoint. Lets say you want to zoom something off a page to draw attention to it, then have it fall back again.
To do this, set an initial key frame. Then, set another to position the scale, or “zoom in” point, you’re after. Now you can open the Key Fame panel and zoom in to see all your first key fames. Drag to select them all, hold the control key and click-drag to clone them and move them to the end time.
YouTube Video w/ Conclusion!
Trying to describe all this with text written out has been a bit tricky!
So, I made a video of what I’ve learned:
Overall, Fusion has been fun to learn and well worth doing so. I believe that video documentaries of my projects will be much more engaging when I sprinkle a little extra Fusion spice on them!


