I’ve been exploring how to create 4K AI videos locally on my consumer gaming Lenovo Legion laptop, which only has 8GB of VRAM. It’s taken me weeks of exploration, but I finally found a workflow that allows me to pull it off!
A few weeks ago, WAN 2.1 was a hot topic raving about how they allowed video generation with low VRAM. My experience working with WAN 2.1 in ComfyUI was that it did work, but it took an hour when using Text-to-Video to generate a decent video and 85% of them weren’t worth the wait. Just as I decided to shift to using Image-to-Video, a new tool named FramePack was released (literally 3 days ago). FramePack not only claims video generation with as little as 6GB, but they’ve put a spin on the Hunyuan model that allows them to generate videos as long as a full minute, as opposed to the usual 4 seconds! I literally jumped out of my seat when I read that and had to see how it worked!
In this article I’ll share my exploration, including my ComfyUI workflows, so you can make your own videos with a modest machine.
How This Project Started
Since WAN 2.1 inspired this project, I started by picking this fun 720p video from their paid generation site as my baseline to see how my machine compared.
Original Prompt
In the video, a capybara performs a series of high-difficulty skateboard tricks on a city street, including jumps, spins, and slides. Each move flows seamlessly, showcasing its incredible skill and precise body control. The urban architecture and passing pedestrians in the background add dynamism and realism to the performance, creating an engaging and lively scene.
Based on the ComfyUI WAN example, I landed on starting with the wan2.1_t2v_14B_fp8_scaled.safetensors version of the model to kick off my initial tests even though they recommended 1.3B version for lower VRAM. Luckily it worked!
Knowing that was likely generated with a lot more VRAM than I had, I didn’t expect the same quality, but the result wasn’t so bad at 480p to cause me to completely bail on the project. Here’s what I made using that same prompt.

You know I have to do this now!
My Official Test Prompt
Since I’m a major cat lover, and cats are far more agile than capybaras, I had to switch up my prompt to be something I would personally enjoy more. I’m not a skater, but I felt this would also be a solid way to test WAN 2.1’s claim of following physics, so I stuck with this prompt for 90% of my tests.
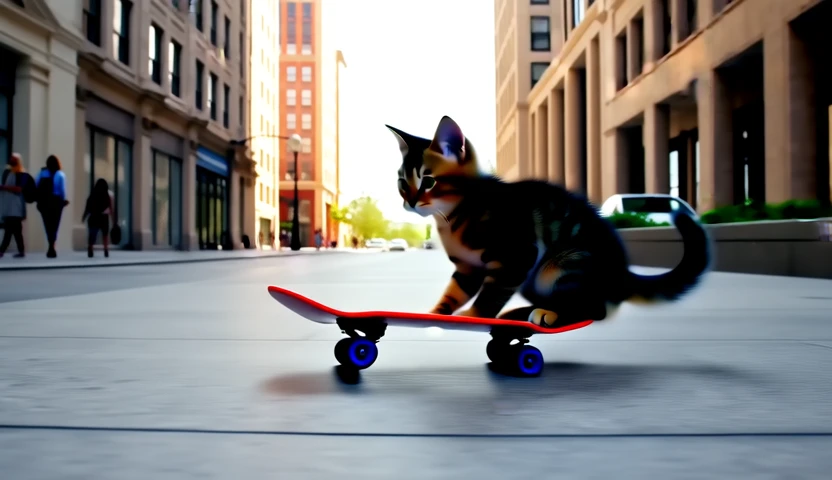
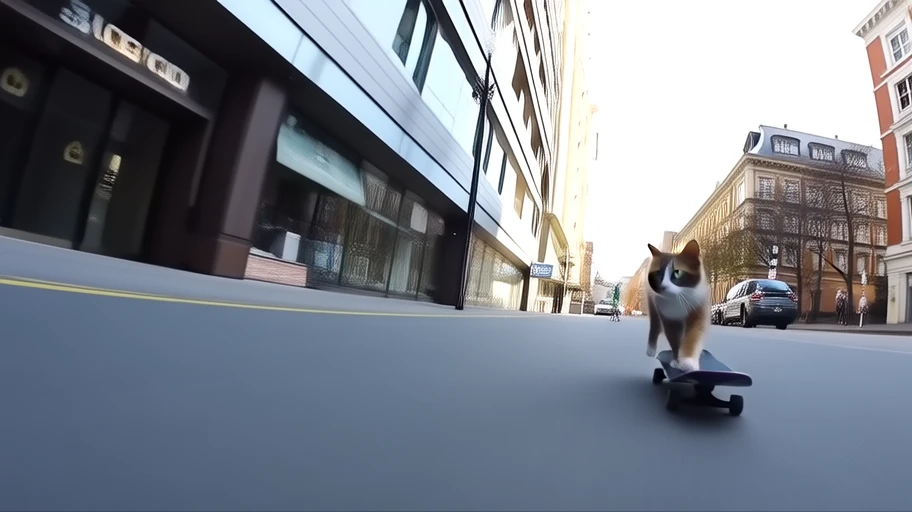
In the video, a cat performs a series of high-difficulty skateboard tricks on a city street, including jumps, spins, and slides. Each move flows seamlessly, showcasing its incredible skill and precise body control. The urban architecture and passing pedestrians in the background add dynamism and realism to the performance, creating an engaging and lively scene.
This was the first result that kept me hooked! Clearly WAN 2.1 agreed that cats are far more agile than rodents of unusual size. 🤣
At this resolution, the videos were taking about 30 minutes to generate.
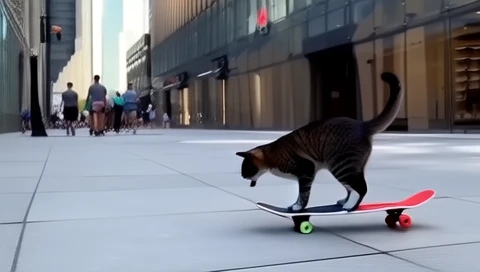
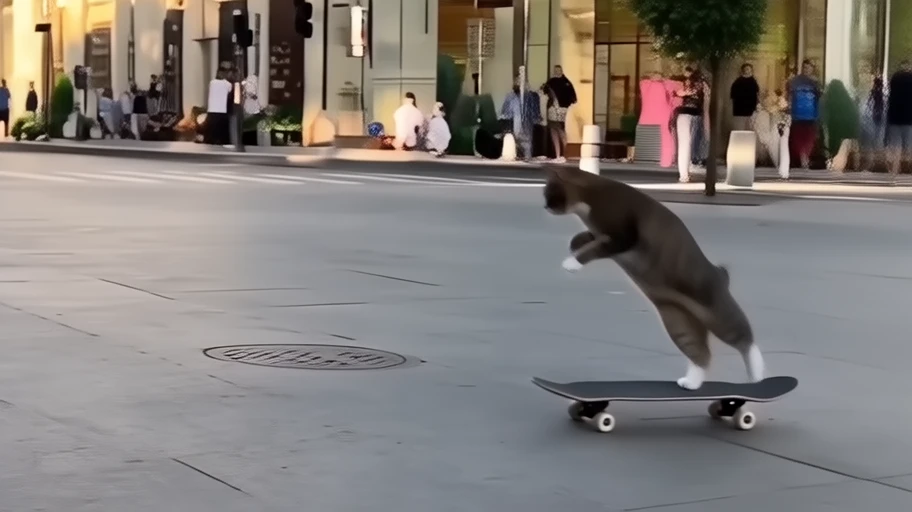
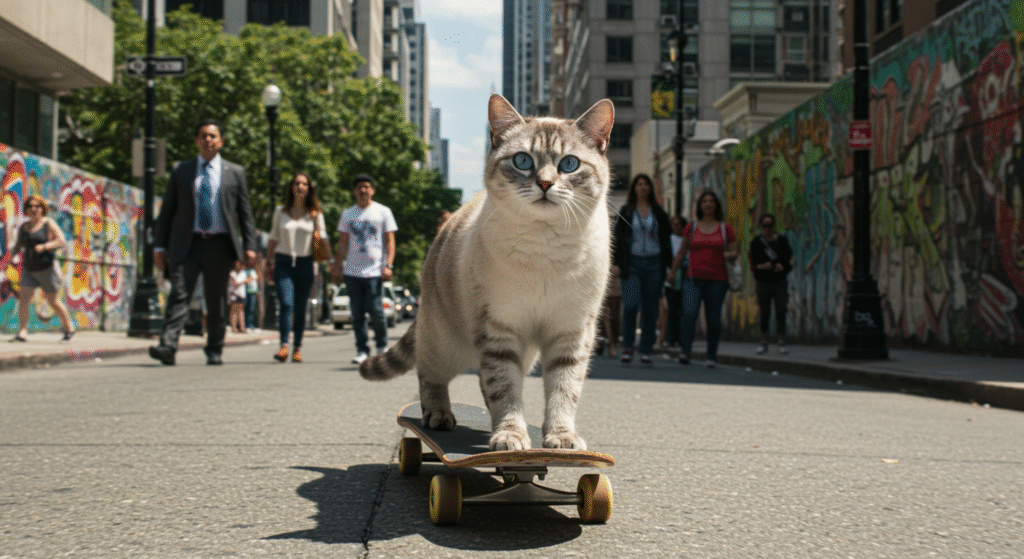
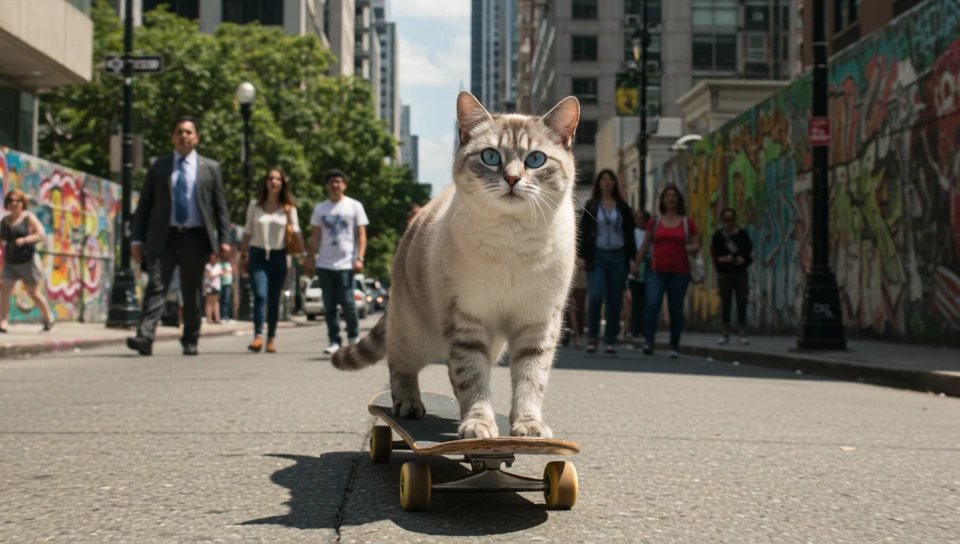
Not long after, I shifted to a lower resolution of 512×512 and generated this beauty in about 15 minutes!
I mean…it isn’t purrrfect with some distortion, but that is such a dynamic shot with a reasonable consideration to the physics involved.
It was this image that inspired me to keep at this off-and-on for weeks to see what else I could make!
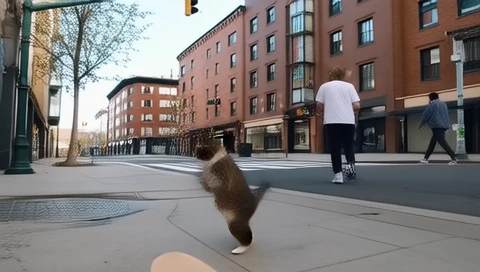
Sadly, it kind of went downhill from here.
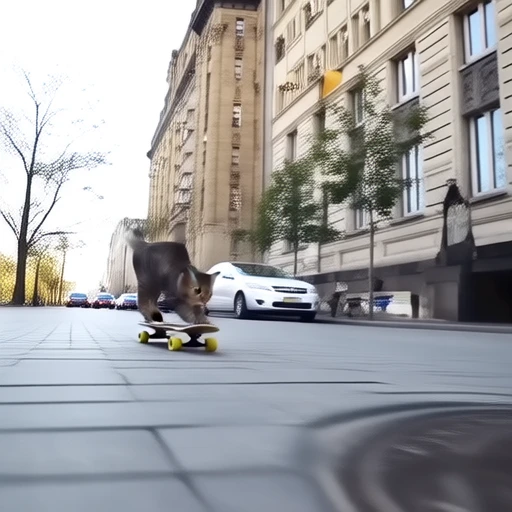
Lower resolution versions were faster, but most of them were unusable like this example.
I tried playing around with aspect ratios to see how that impacted generation, since I’ve seen that with Stable Diffusion.
Sometimes the results were hilarious!

Every once in a while, you’d end up with a gem that kept taunting me into thinking I would find some special combination of settings that would work.
Here’s a few examples of those winners:

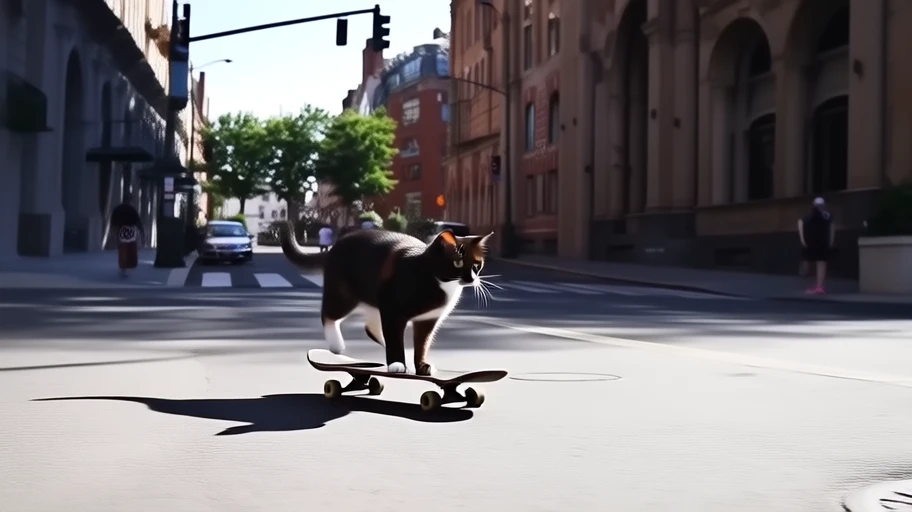
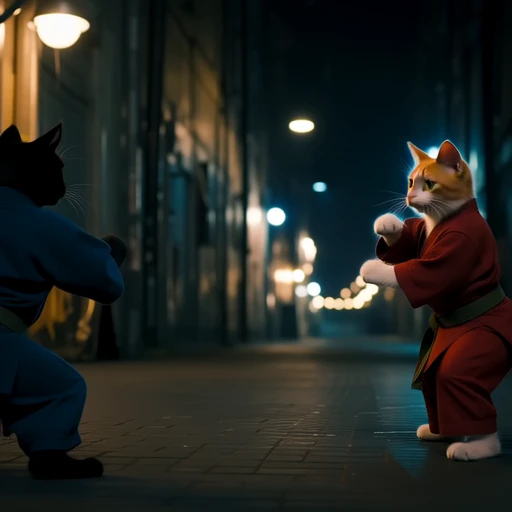
And then there’s this one with a mix of gold and a moonwalk? The personality behind this cat was so realistic to me when it stops to look at the board!
And then you have this example where the cat flips in from some other dimension and appears to shake off the effects. OUCH!~
Unfortunately, these type of results were far more common regardless of the model, settings, and resolution combinations I chose when using T2V. Even using the bigger fp16 model, which my machine barely managed to handle.
Of course, I had to test out other prompts to see how WAN 2.1 performed outside of the cat boarder realm.
This non-cat example will tie into something I’ll mention later in this article…
Summary of WAN 2.1 Text-to-Video Results
After weeks of running my machine into the ground to only get a handful of potential keepers, I found that the overall quality of the videos were simply too weak to produce a usable results. Upscaling to 4K only amplified the defects in even the best videos.
It’s clear that WAN 2.1 requires bigger GPUs to produce the quality we’re seeing in their published examples. Sure, you can generate a video with text, but you shouldn’t expect much from it. We’ll have to see how future versions of the model performs.
WAN 2.1 Image-to-Video Exploration
I had seen most of the Wan 2.1 video generation tutorials on YouTube start with an image, which wasn’t the direction I personally wanted to take. My first initial test of my usual skateboarding cat really amplified that fact as it struggled to understand the concept of movement.
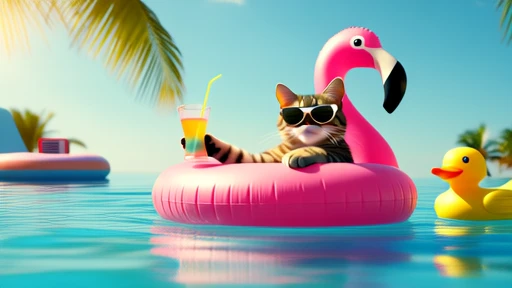
I started with this static Google Imagen 3 generated image, since it produces solid HD images very quickly and free:
I had learned that you need to start with a decent sized image to produce a high quality video from an image, so I aim to use a minimum width of 1024.
That image ended up generating this result using my same test prompt…ugh!
I immediately notice that WAN 2.1 I2V models do a great job of producing quality video at a resolution that you can upscale to 4K.
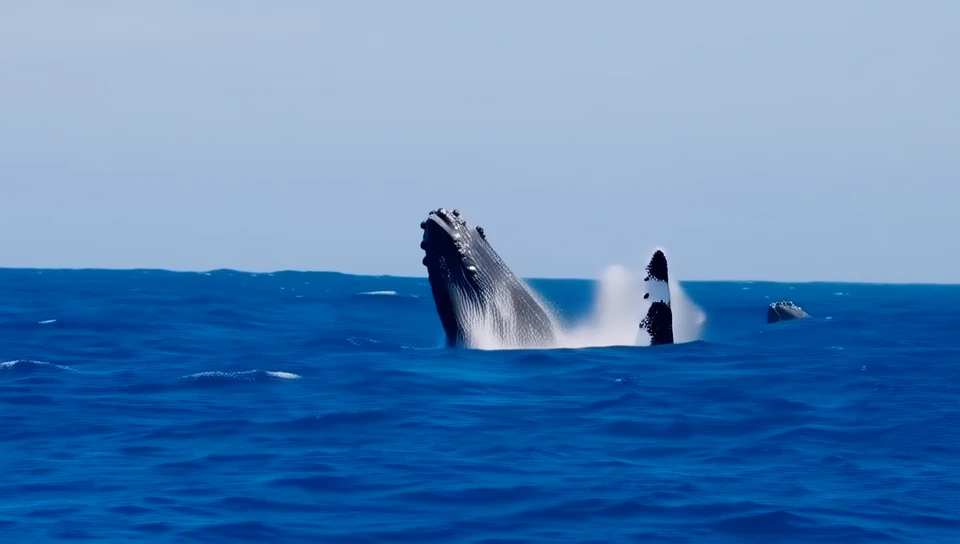
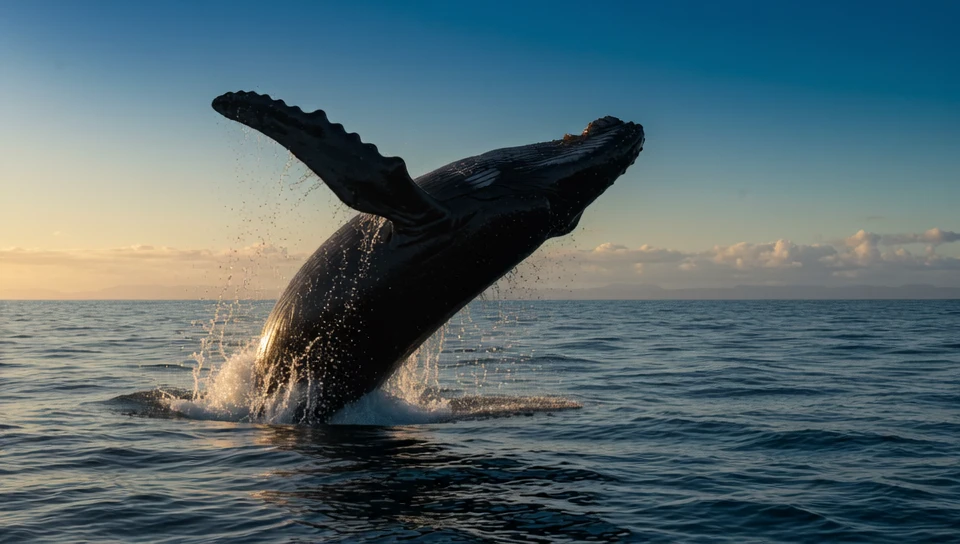
Just keep in mind that your motion will start from your initial image as you design your scene. For example, you can’t have a whale coming out of a completely calm ocean if you start with an image of it already jumping. Your video will continue that motion with it already in the air like this.
These videos still take 20-30 minutes to generate, but the quality is far better and more consistent than T2V in most cases. It has to be due to the composition being handled for WAN, so it can just focus on motion.
Just don’t try to make skate boarding cats with it. LOL!
The Optimal I2V Model
Even though the ComfyUI example uses wan2.1_i2v_480p_14B_fp16.safetensors, and WAN says 480p is doable with low VRAM, I found that specific model crashed regularly when trying to produce an video at 960×540 resolution to ensure I could upscale to 4K without any concern.
I finally landed on the wan2.1_i2v_480p_14B_fp8_scaled.safetensors model, which produced the most consistent results. You still may find you have to restart, or use a tiled VAE decoder to squeak by.
Speaking of squeaking by, let’s jump into the inspiration for my next phase of tests. We’ll swing back to I2V with WAN 2.1 to keep moving forward toward usable workflows that I’ll share with you.
Considering Paying for Google’s Veo 2
Having realized that I needed to spend around $4,000 to get that RTX 4090 I’d been wanting (or an equivalent) to end up with the results I would like to produce locally, I’ve been strongly considering paying for an AI video generation service.
Google’s Veo 2 is at the top of my list, since it can generate 8 second videos. Unfortunately, it’s not clear how many videos you can generate per month. Knowing that even if it is good, I’d likely need to run lots of variations to get what I need and possibly waste runs.
As per usual, I found a Veo 2 example that I really liked, which I wanted to test with WAN 2.1 to see how well it did in comparison.
Here’s the prompt:
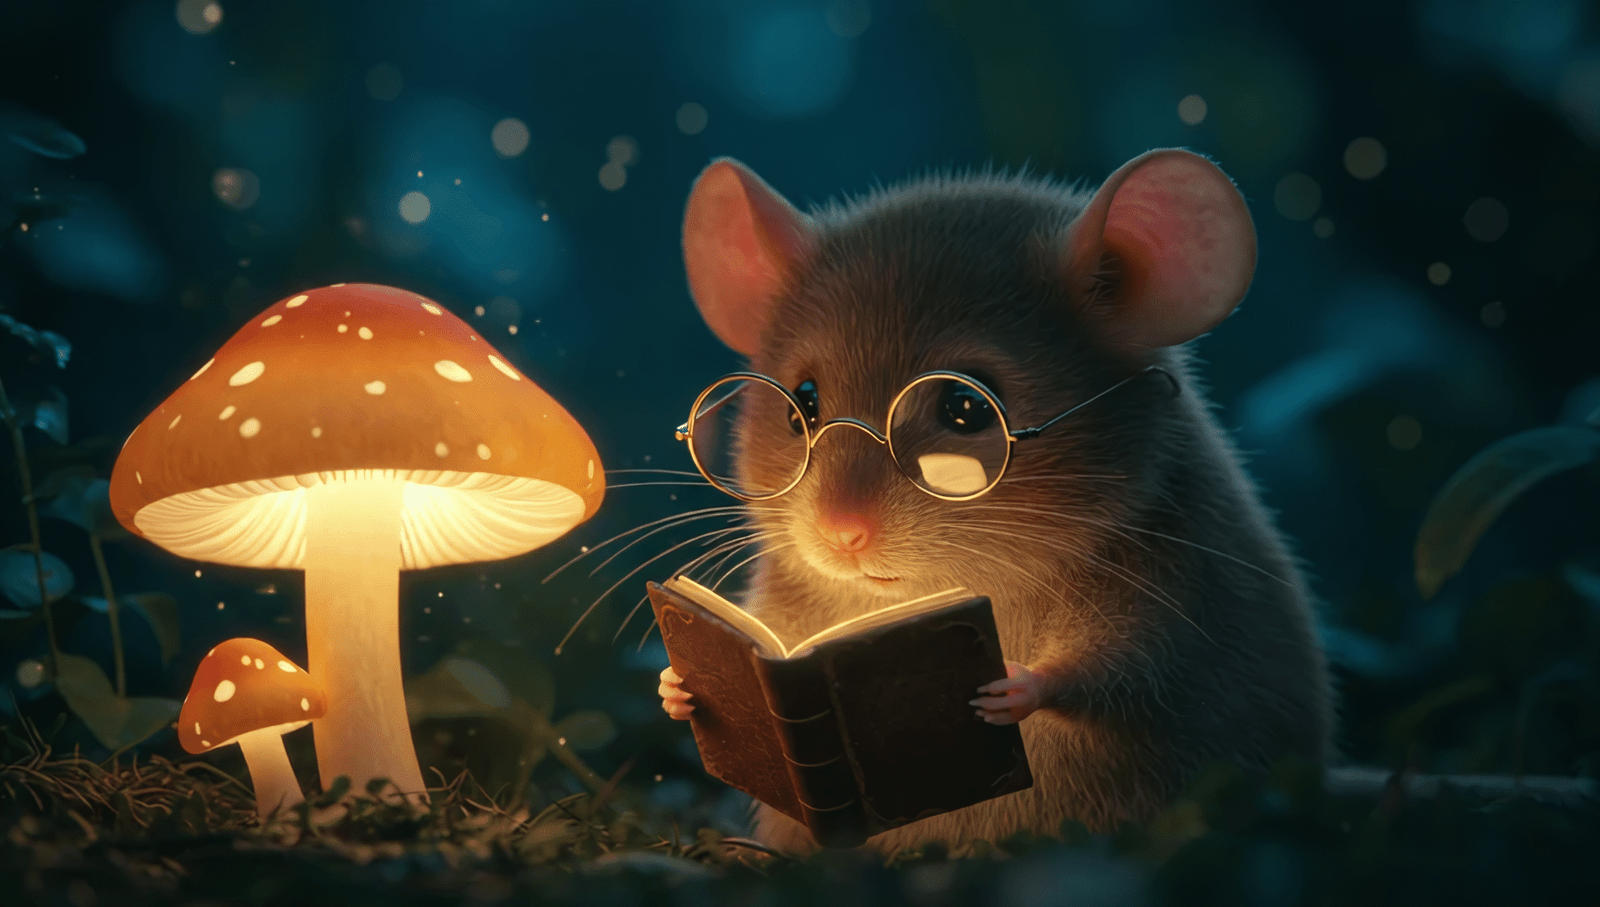
An animated shot of a tiny mouse with oversized glasses, reading a book by the light of a glowing mushroom in a cozy forest den.
Back to WAN I2V
When I tested WAN 2.1 T2V with that prompt, the composition was weak and the video wasn’t even worth showing here.
But, when I went back to WAN 2.1 I2V, using a Google ImageFX generated image based on that Veo 2 example prompt, I was very happy with the results!

That video upscaled beautifully to 4K, which exposed some very minor moving fur distortion that I was completely ok with!
Not only did this demonstrate why everyone is suggesting using WAN I2V, but it also demonstrates that WAN can struggle with composition over other models without the help of an example of what you’re after.
What was most important about this run was that I had just made my first 4K AI generated video locally!
Don’t worry, I’ll give you the full workflow at the end of this article.
FramePack
Let’s take this little mouse fella and dig into the next thing I learned, which was that FramePack not only supports low VRAM generation, but that it can create full minute long videos. That’s just mind blowing!
FramePack is so new that they don’t have any ComfyUI workflows yet, but you can get it up and running quickly using their zipped environment they provide on their GitHub page.
NOTE: At the time of my testing it, I did get a security warning when running their .bat file. I dug in and confirmed there was nothing malicious going on before running it. It just handles all the environment set up for you and runs the Gradio UI, but I totally get it if you don’t trust it (or me). Hopefully they can resolve that soon.
Another thing to note is that running their installer will automatically download 30GB of models, so make sure you have the room!!
I also found that they’ve hard coded the seed value of 31337, so I highly recommend changing that to 0 each time you load the UI, since it greatly improved my results.
Once I learned that I was able to use a WEBP animation file, like the one above, I was able to take the direct result from WAN 2.1 I2v and modify or extend that with FramePack!
Here’s a video I made using that previous example only I modified the prompt to say that the mouse was reading an exciting book. It doesn’t generate a WEBP file, so you’ll have to hit play to see this one:
I also made this one of the same mouse turning a page in the book by specifying that in the prompt. I made this one a bit longer to demonstrate the ability to create longer videos, but didn’t want to make it too long due to file size and my time restriction working on this away from home.
I guess he’s a telekinetic mouse that can turn pages with his mind! 🤓
In case you’re wondering… Yes, I’m still able to upscale these smaller resolution videos to 4K!
Are you seeing how you can start tying these similar variations of the same character together? To me, this is HUGE for those of us not willing to pay for a service and want to generate content locally on a reasonably priced machine.
Overall Summary
What I’ve found is that you can run both WAN 2.1 and FramePack in conjunction with each other to obtain solid results overall! It just depends on what you’re looking for.
You get far better results working with WAN 2.1 I2V, so stick with that whenever you can.
You can then use FramePack to generate a wide range of variations using the WEBP that WAN produces to generate consistent character scenes, which seems to be a challenge for even paid services based on videos I’ve see on how to make consistent characters. This in itself is a serious game changer for anyone, but especially for those of us who choose to be challenged by using more affordable solutions.
Here’s an example video I made to show of the potential we now have at our fingertips. The examples in this video are 4K:
ComfyUI Workflows
As promised, here are the workflows I’ve created for myself. I hope you find them useful.
Instructions for how to get started are included in the README, which includes links to all the models you’ll need to download for either the Image-to-Video or Text-to-Video workflows and the locations in ComfyUI where they need to go. This assumes you already have ComfyUI installed and are familiar with the basics. If not, there’s lots of videos out there to help you get there.
Once you have the initial videos generated, you can use the upscaler workflows I included to make them 4K.
The WEBP upscaler is for WAN generations, while the MP4 upscaler is for FramePack generations. I’ve also included some resolution recommendations to help you see how long each resolution takes and what’s required to get you up to 4K.
YouTube Video
Check out the YouTube video I created that goes along with this article. This video is standard resolution, which is why I created the one above, so you can see the difference.
Conclusion
While that was a lot of fun, and I learned a TON, I still may decide to pay for an online AI video service until I’m ready to dump some serious cash on a 24GB GPU.
At least the Image-to-Video approach produces reasonably predictable results and decent quality. I’ll have to try out a service that supports Text-to-Video and see if I can get some skate boarding cats videos in 4K 😻
If it didn’t render my computer almost useless for anything other than web browsing by either taking up every ounce of hard drive space or exhausting my GPU, I would run video generations in the background all day long. With that blocking my other projects that need those resources, it just not practical for me. But, if that’s all you’re doing, you can make it work.