If you’ve been following my projects at all, you’ll know I’m a fan of robotics. However, I’m not a fan of spending hard earned cash on hardware that sits around most of the time. That’s why I’ve shifted to virtual robotics.
I was on the verge of spending $600 on a PuppyPi robot dog to learn Ros2, but luckily I avoided that by learning about robot simulations.
My Current List of Hardware!
Before I dive into the details of how to program robots in Unreal Engine 5.5, it seems worth sharing my current list of hardware that’s currently collecting dust, in case you’ve been kicking around buying hardware yourself.
The goal of sharing this list is to inspire you to avoid wasting money just to find out if you enjoy robotics.
Once you’re sure you do, then you’ll be able to justify moving into hardware.
Lego Mindstorms – $349
A great starter kit for anyone interested in learning robotics (a decade ago!). It’s now a retired product, which I haven’t touched in years.
It’s a five-in-one kit, which offers enough flexibility to build some amazing bots! My Personal favorite required a gyroscope to build a segway bot like this one:

Sphero – $199
I had a ton of fun with this one, which I left sitting with a program to make it seem alive. It starts off slowly exploring and moves faster and faster as it gains confidence, but as soon as it hits something it shakes it off and slowly explores to build up confidence again.
I have the older white version, so figured I’d go with a video of that specific model:
(Qty 2) DJI Robomaster TT Drones – $300
I bought these, most recently, at at half price ($150 each) since they were being discontinued in the U.S. and I wanted to have two to explore programming drone swarms.

Here’s a super corney video, which gets into more detail about how awesome these are. I do plan to explore using AI to fly these autonomously in the near future!
Arduino, RaspberryPi and IoT Components – $200+
I have a RaspberryPi, Arduino, and a wide variety of micro controllers and sensors that I’ve learned a ton with! Unfortunately, that was before I started this blog, so all those lessons are lost in the back of my mind. To quickly document one robotic house idea, I could create robotic blinds that adjust based on the light outside. But, I’m not super handy in the physical world and they would probably be cheaper for me to buy. But it was a fun idea!
Thankfully, most microcontrollers and sensors can be fairly cheap, but it does add up!

Overall, that’s approximately $1,000 spent! While it was fun for a while, and valuable lessons were learned, it hardly seems worth the investment.
Learning Virtual Robotics in UE5
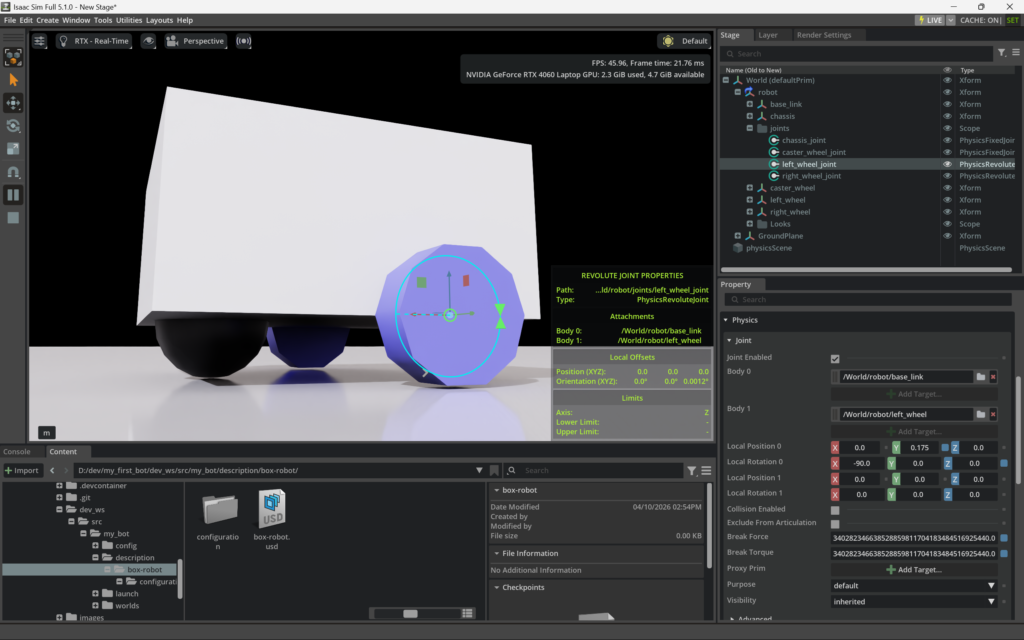
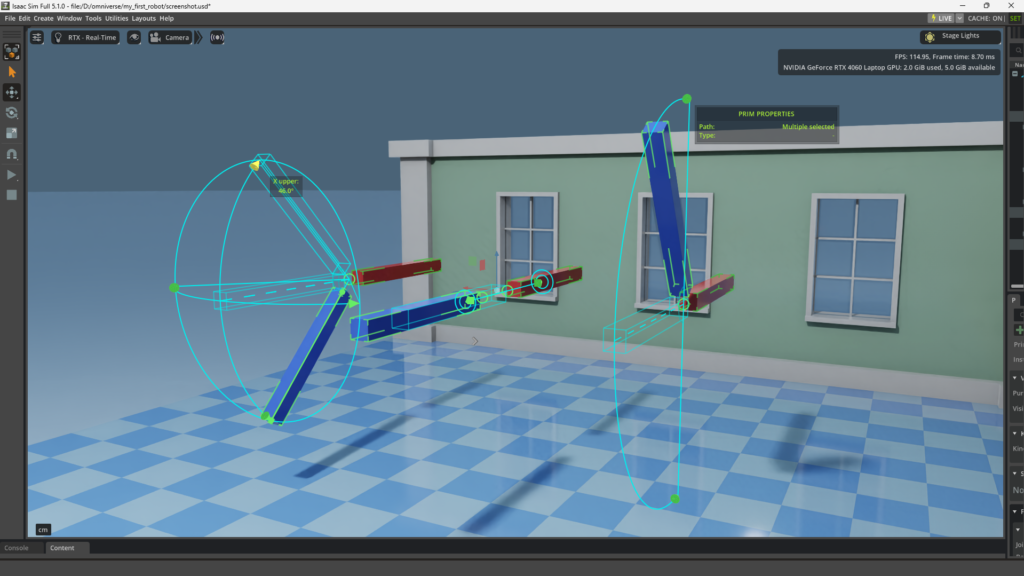
With today’s technology you can learn robotics industry standards, like ROS2, by building simulations with Gazebo without spending a dime on hardware! You can even learn with NVIDIA’s Isaac Sim on Omniverse using USD, if your computer meets the minimum requirements.
I’ve personally been learning as much as I can about building virtual worlds with Unreal Engine.
So, I figured I’d try out the 5 hour long robotics course created for ages 13+ to introduce virtual robotics in Unreal Engine 5!
I’m using UE5.5 when this was built for UE5.4, but it seems to convert fine. There were only some minor differences between the UI and the documentation, which were managable.
“Coding”
Something to keep in mind, these lessons mention “coding” a lot, but it’s more like coding with Scratch when you use their Blueprints. I know there’s code under the nodes, but they don’t teach you how to get to that in these lessons.
Lesson Plans
Their lesson plans are designed for a classroom providing a teacher guide and student guide for each of the 5 lessons. Each lesson builds on skills taught in the previous lessons, which provides a nice progression.
We have lesson plans and student guides ready to go for anyone that wants to expose their students to the wonders of robotics. No parts required.
Here are other Epic Games Lesson Plans with cool things to learn!
Let’s finally get to it!
Lesson 1: Robot Vehicles
Lesson 1 immediately taught me something that I never noticed over multiple years of working with robots, which was that the motors on a box bot are facing opposite directions, so you have to spin them in opposite directions in order to move forward or backward. DUH! How did I not notice that before?

Now it makes sense that you’d spin if you set both speed values to 20, which you can see if you look at the spin example’s blueprint under the Turning map.

I also learned about the term Dead Reckoning, which produces different results each time there’s subtle differences in conditions.
Driving a robot for a set amount of time, along with heading and speed but without any sensor,
input is referred to as Dead Reckoning.
I especially appreciated how the challenge in lesson one encourages students to use the engineering process: Predict, Test, Observe, and Iterate. Also to practice logging their attempts and to use that data to make informed decisions for each subsequent attempt as they practice using Dead Reckoning navigation.
This chart they provide is great for motor settings and movement directions:

Lesson 2: Sumo Robots
Lesson 2 starts heading into using sensors to help the robot stay in the ring.
I had a lot of fun with this one. It provided some great info about how to program bots in UE5 and was actually fun to adjust the settings to see how that affected the battle.


Lesson 3: Self-Driving Car
While “Self-Driving Car” is a bit of an overstatement to me, it’s more like lane assist, this lesson still provides a lot of value and follows a classic project that I’ve seen many times, but never actually tried. At least they clarify the limits within the lesson plan with this statement:
Line-following robots are your on-ramp to the wonderful world of autonomous vehicles. This simple exercise will give you an introduction to just one way that a vehicle can use the environment to navigate independently.
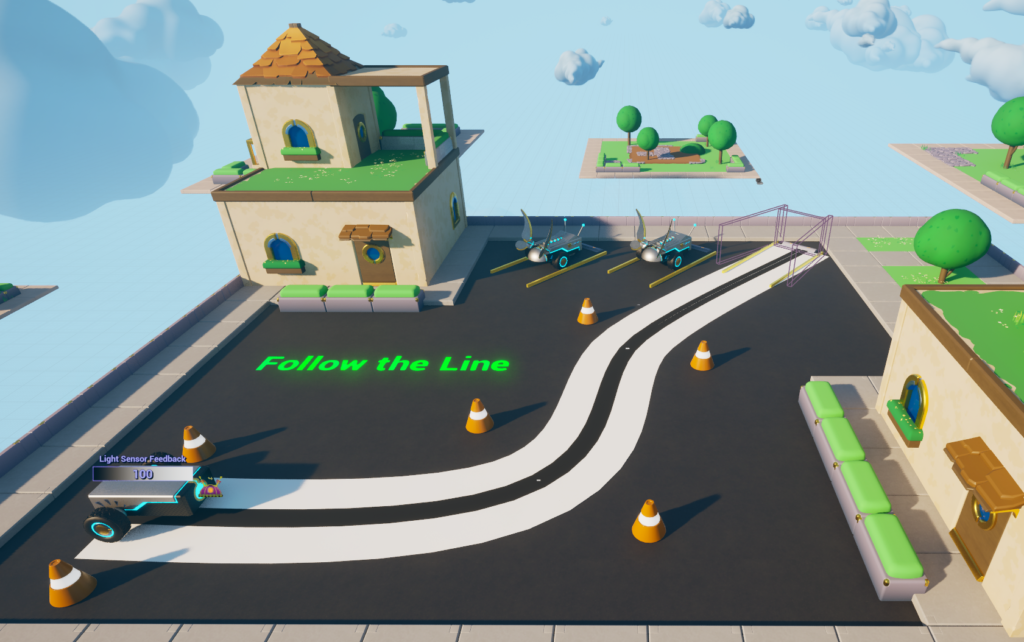
This lesson builds on the last one by using the light sensor again. The initial setup it almost exactly like lesson 2!
Around this time is when I started getting bored reading the details and skimmed to find the important parts – right back in school again! LOL!
When finally testing my bot I thought they were leaving kids hanging by not providing a speed value, but then I realized that was intentional to get them to iterate on the settings to get their bot moving along the line. That was a cool realization!!
- Speeds will be up to the user to work out
- How fast can you go?
- What new problems arise when adding speed?
I definitely found it frustrating with one sensor! I want to go fast and it was tricky to keep it on track without going slow.

Lesson 4: Collision Avoidance Robot
In this lesson we add a sensor to detect objects in front of the robot.
This activity takes your skills to the next level by adding another sensor to the vehicle and introducing another conditional statement.
They talk about how LiDAR sensors are used, but kept things simple with a custom distance sensor. I’ve used ultrasonic sensors on projects before, but I’m guessing that’s a bit tricky in a virtual world. I imagine this simplified sensor is a lot like that.
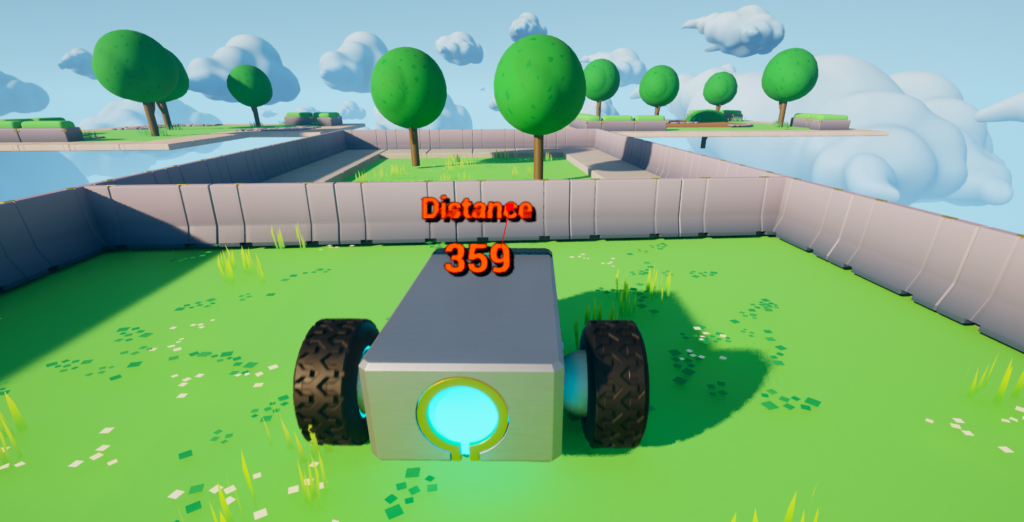

This one was easy enough that they encourage kids to add the distance sensor to upgrade their line-following bot.
At this point, I’m definitely getting curious how these Blueprint components are being made!
Lesson 5: Remote-Controlled Soccer Bots
I’m excited about this last lesson!
My Goal
I’m hoping it will give me clues as to how I might connect the bot’s virtual “controls” to a network connection, so I can run my ROS2 simulation from Docker and send commands over localhost to control a bot in UE5. I learned how to set up a UE5 project to listen to a network while doing my UE5 Audio-Reactive Light Shows Using DMX and TouchDesigner project, so I’ll be looking for ways to read a published RO2 signal just like I did using DMX!
Umm…Hold up a second! I just realized that it shouldn’t matter if it’s ROS2 or DMX! I just need to convert what I get over the network into something this project’s “controller” can understand!
I’m able to use music to send DMX commands, so I’d be able to make dancing bots! 🤖 +🕺= 🤓

Why? Because it sounds fun! That’s the whole point of projects I do as my hobby. I just have to be careful not to become obsessed with solving a frustrating technical challenge, which does happen!
Plus, this process may inspire me to create my first custom UE5 plug-in. I’ve never had a need to do that before, but it sounds cool.
Let’s stop all this rambling and jump into Lesson 5!
And there we have it, folks! We’ll be controlling bots with the keyboard as our transmitter (Tx), which is exactly how the ROS2 simulated bot is controlled in my video below.
In this lesson, you will learn how to map the motors to keyboard key presses, making a virtual remote control from the keyboard input.
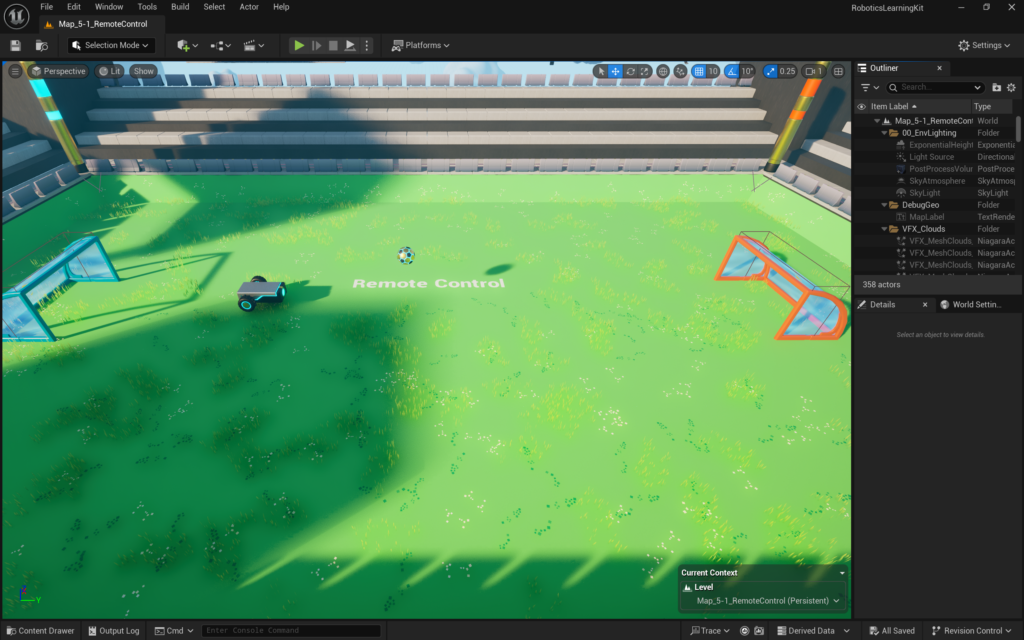
Here’s where we start off in UE5 – for comparison.
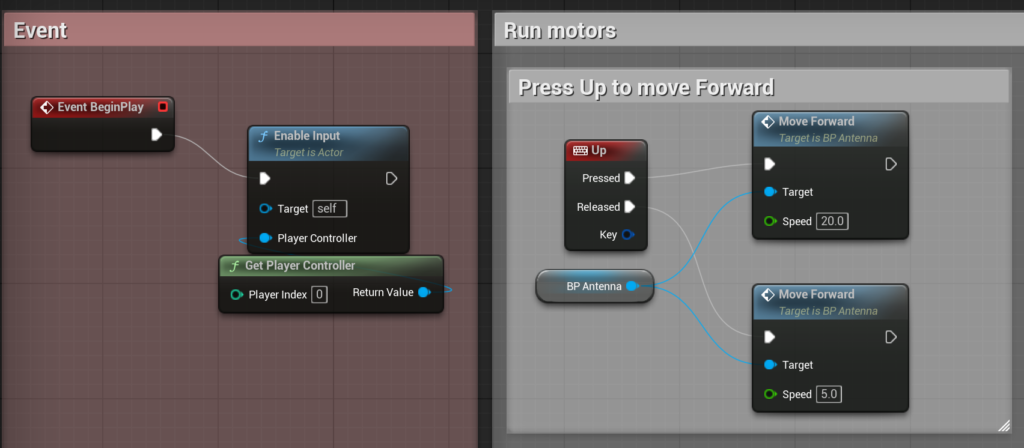
From here, we’ll edit the bot’s Blueprint and add the BP_Antenna component they provided to act as our Receiver (Rx).

As a reminder, the functions to move the robot are built into BP_Antenna. You will only need to set the speed variable when telling the robot to move.
Here’s a peak inside BP_Antenna, which is nothing more than node-based algorithms.

I’m starting to see UE5 Blueprints like micro-controllers!
With nothing more than this setup, I can make my bot move faster each time I press the up key. Again, they leave it up to you to figure out what values work best.
To move backwards, they have you add this “Polarity” node. But, why?!? This is a good example of how tutorials can be lessons in following directions, since it would be nice to explain to students what polarity is and how it affects motors.

After setting up all my move controls, I found the bot sometimes never stops. Sure enough, stopping the motors and resetting the variables is the next part in the lesson.

After some troubleshooting why the bot would randomly go different directions, I notice that I used two SpeedA nodes in the above!
When that didn’t help as much as I thought it should, I went digging into the BP_Anennea Blueprint. Turns out, I found something that didn’t seem right to me.
Right after the “Set Speed A” node, I found a missing math node on “Turn Right”, which I would assume should be the exact opposite of the “Turn Left” set up.

Strangely enough, after fixing that the bot almost acted worse! So, I put it back how it was, since they really promote playing with the values to see how the bot performs.
This project may have a bug, but I’m certainly not going to worry about it. I’ve gotten what I’ve been looking for in this lesson.
While this is virtual, it does feel similar to working with challenges you can run into with real hardware. Other than the frictionless spinning soccer ball! ⚽ This is the point where you might have a polarity issue on a motor causing something unexpected. You NEVER know what hurdles will pop up, especially working with hardware, so this is where you can really test yourself to see if you’ve got the chops for robotics.
Determination (with or without driving yourself crazy) is skill that’s hard to teach! You either want to take on a challenge, or you don’t. I often have to ask myself if there’s value to beating a challenge, especially after spending a lot of time on it without much progress. If it’s something you must conquer, try looking at the issue from different perspectives.
My next steps for this could be to dive into how BP_Antennea works, but I’m probably going to be lazy and jump right into swapping the keyboard controller for the network and seeing if I can use TouchDesigner to send the control commands, or possibly the speed values to make that robot dance!
Adding DMX
I started by watching this short video to learn how to move a simple cube based on the “Tilt” value from DMX.
My first step was to install the DMX plugins.
Next, I brought the simple bot onto the playing field and updated it’s blueprint to listen for DMX signals and set up the left and right motors to be controlled by “color” and “dimmer” respectively.
Then, I needed to update the project settings to add a DMX input port set to localhost (127.0.0.1).
I fought for a bit until I realized that I had to create a library and a fixture patch, which is required to pick up the data!
After that, I was able to print DMX Data values to the screen!
I used a simple ball to help me troubleshoot my issues, then I was able to setup my bot!
This is the blueprint I used to get my DMX Ball bouncing around to the music:

Here’s the Blueprint I landed on for my initial bot test:

From here, you’re going to want to checkout the video to get the full effect!
UE5 Animations
Feeling a bit limited with a two wheel bot, I’m officially moving into learning how to work with character animations to give my bots a bit more style!
That requires understanding character rigs and animation Blueprints, which is helping me learn how to map my TouchDesigner DMX outputs to specific moves.
Here’s an example of where I am at the end of this article, which uses a Third Person project template, allowing me to navigate while also sprinkling in a little swagger!
Ros2 in UE5
This is an impressive project that connects ROS2 and UE5, which could be fun to try out.
Industrial Bot Training
Now, if you’re interested in taking your robotics skills to the next level, good ol’ Articulated Robotics is giving us his perspective on industrial-level robotics simulations using NVIDIA’ Omniverse!
Stay tuned as I continue to make progress on my journey toward creating virtual worlds with robot simulations! Who knows where that may take me.
Article YouTube Video
Here’s the video I made about this project: